
If you have recently received a new iPhone, you may be wondering how to save a voicemail on the iPhone. The good news is that there are ways to save your voicemails. You can use Google Drive to save your voicemails, or you can choose to share them with Messages or Gmail. Then, just click on Save and OK. You can then easily access your voicemails on any device.
Are you saving a Voicemail on the iPhone?
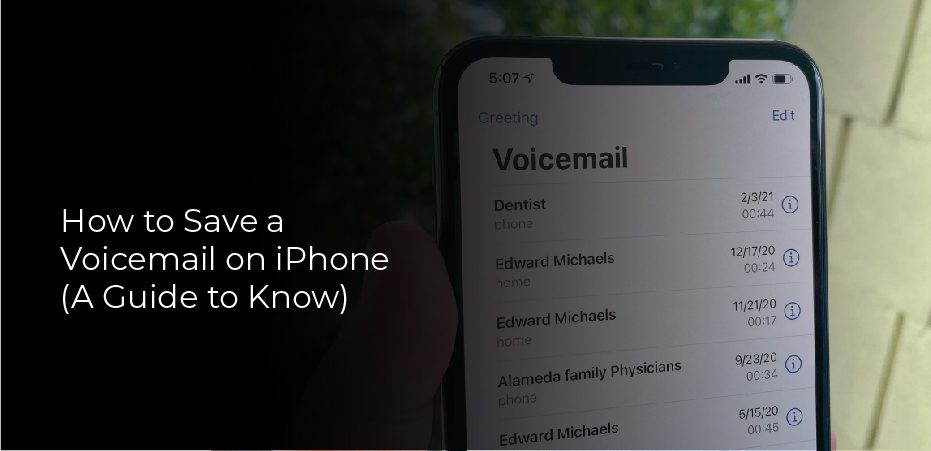
The iPhone now offers visual Voicemail. With this new feature, you can view and manage your voicemails and choose which ones to listen to and delete. You can also view voicemail transcripts and save messages as notes or voice memos if you wish. You can also share these messages with other apps. If you’re having trouble setting up your Visual Voicemail on your iPhone, here are some simple steps to fix the issue.
Make sure you have a data connection on your iPhone. Visual Voicemail won’t work if your cellular data is turned off or you don’t have a Wi-Fi connection. If your Voicemail is unavailable, a message will appear on the voicemail screen. The message will have a Call Voicemail button so you can dial it directly. You can still view the messages if you’re on a Wi-Fi network.
The next step is to update your iPhone. The latest iOS version is required to enable Visual Voicemail. To do this, go to Settings > General > Software Update. Click on the Network section. If there’s a new version of the network, you’ll see a message stating it. If you’re unsure which version to upgrade to, read Apple’s FAQ to make sure it’s compatible with your iPhone.
Transferring Voicemails to Your Computer
Fortunately, there are ways to transfer voicemails from your iPhone to your PC. One of these methods is to send them via email simply. However, this method can be time-consuming since you can only attach one Voicemail at a time. You can, however, transfer a large number of voicemails with the help of email. The process of transferring voicemails from the iPhone to the computer is a simple one. Simply open the voicemails and click on “Export” at the bottom of the page.
Another way to transfer your voicemails is to use one of the various storage services that are available on your computer. These services include iCloud and Dropbox, as well as OneDrive. Alternatively, you can use Apple’s AirDrop to transfer your voicemails to your computer. Once you’ve uploaded the files, they’ll be in M4A format, which you can then play on iTunes or other media players.
Transferring Voicemails from Your iPhone To A New iPhone
The first thing to do before you transfer voicemails from your old iPhone to your new one is to create a backup of your iPhone using iCloud or iTunes. This will allow you to restore all of your data onto the new iPhone in a matter of minutes. If the software is corrupted or crashes, you can simply restart your device to restore your voicemails. However, if this method isn’t effective, you’ll need to restore your phone’s iCloud Backup.
To start the process, ensure that you have the same iCloud account on both devices. Make sure you have turned on iCloud Backup on your old iPhone. Once you’re done, use the FoneTrans utility to migrate your voicemails from one iPhone to another. To transfer voicemails, follow the steps outlined above. Once you’ve completed the steps, your new iPhone should automatically restart
Next, go to iCloud and sign into your iCloud account. In the iCloud account, click Backup. After the Backup is complete, your voicemails will appear on your iPhone’s main Visual Voicemail screen. Be aware, however, that deleting a voicemail will not recover it. However, if you’ve already deleted a voicemail, it may be possible to recover it.
All you need to transfer your voicemails to a new iPhone are the two phones with AirDrop installed. On the source iPhone, open the Voicemail app and press the Share button. Then, on the new iPhone, tap the contact to start the transfer. Alternatively, you can use the email feature of your new iPhone to transfer voicemails from your old iPhone to your new phone.